Introduction to Air Conditioner Condenser Coils
As we enter warmer months, the importance of an efficiently running air conditioning unit comes to the forefront of homeowners’ minds. A crucial component of this system is the cleaning air conditioner condenser coils. This article will guide you through the essential aspects of condenser coils, their maintenance, and best practices for cleaning them efficiently.
What Are Condenser Coils?
Condenser coils are integral parts of air conditioning systems, facilitating the heat exchange process necessary for cooling indoor air. Located in the outdoor unit of a central air conditioning system, the condenser coils are composed of thin metal tubing that holds refrigerant. As the refrigerant circulates and absorbs heat from the inside air, it then moves to the condenser coils, where the heat is released into the outdoor environment. This process is vital for maintaining a comfortable indoor climate, especially during hot weather.
Importance of Cleaning Air Conditioner Condenser Coils
Regular cleaning of condenser coils is essential for the efficient operation of air conditioning systems. Dirty or clogged coils impede the airflow and reduce the unit’s ability to release heat, leading to increased energy consumption and higher electricity bills. In fact, studies show that units with dirty coils can consume up to 30% more energy than those that are adequately maintained. This inefficiency could cause wear and tear, potentially resulting in costly repairs or even premature system failure.
Common Problems Caused by Dirty Coils
The presence of dirt, dust, and debris on the condenser coils can lead to several issues:
- Reduced cooling efficiency: Dirty coils restrict airflow and hinder the heat exchange process, causing the AC unit to struggle in maintaining the desired indoor temperature.
- Increased wear on components: When the system works harder to overcome dirty coils, it puts additional strain on the compressor and other components, leading to premature breakdowns.
- Higher energy expenses: Inefficient cooling results in escalated energy costs, impacting your monthly expenses.
- Shortened lifespan: A neglected air conditioning system is likely to have a much shorter operational lifespan due to the continuous strain caused by dirty coils.
Tools and Materials Needed for Cleaning
Essential Cleaning Tools
Before starting the cleaning process, gather the following tools:
- A soft brush or vacuum with a soft brush attachment
- Garden hose or pressure washer (with a gentle setting)
- A sprayer for cleaning solution
- Coil cleaning foam (optional, but recommended)
- Flathead screwdriver (for removing paneling, if necessary)
- Protective cloth or tarp (to catch debris)
Best Cleaning Chemicals
When selecting cleaning agents, consider using:
- Specialized coil cleaning solutions available at home improvement stores, specifically designed for condenser coils.
- A mixture of mild soap and water or a vinegar solution for light cleaning.
- Commercially available foaming coil cleaners that penetrate dirt and grime effectively.
Safety Gear and Precautions
When cleaning your air conditioner, safety should be a top priority:
- Wear safety goggles to protect your eyes from debris and chemical splashes.
- Use gloves to protect your hands from harsh cleaning agents.
- Ensure the power to the AC unit is switched off before starting the cleaning process to prevent electrical hazards.
- Keep children and pets away from the work area to avoid accidents.
How to Clean Air Conditioner Condenser Coils: A Step-by-Step Guide
Preparing Your AC Unit for Cleaning
Start by preparing your air conditioning unit:
- Turn off the power to the unit at the breaker box.
- Remove any debris such as leaves, branches, or grass from the exterior of the unit.
- If applicable, remove the fan guard using a screwdriver to access the coils.
Cleaning Techniques for Maximum Efficiency
Follow these steps to clean your condenser coils effectively:
- Using the soft brush or vacuum, gently remove dirt and dust from the coil surfaces. Make sure to get into the nooks and crannies of the coils to reach all built-up grime.
- Apply the cleaning solution. If using a foaming coil cleaner, spray evenly over the coils and let it sit for 10-15 minutes to penetrate the dirt.
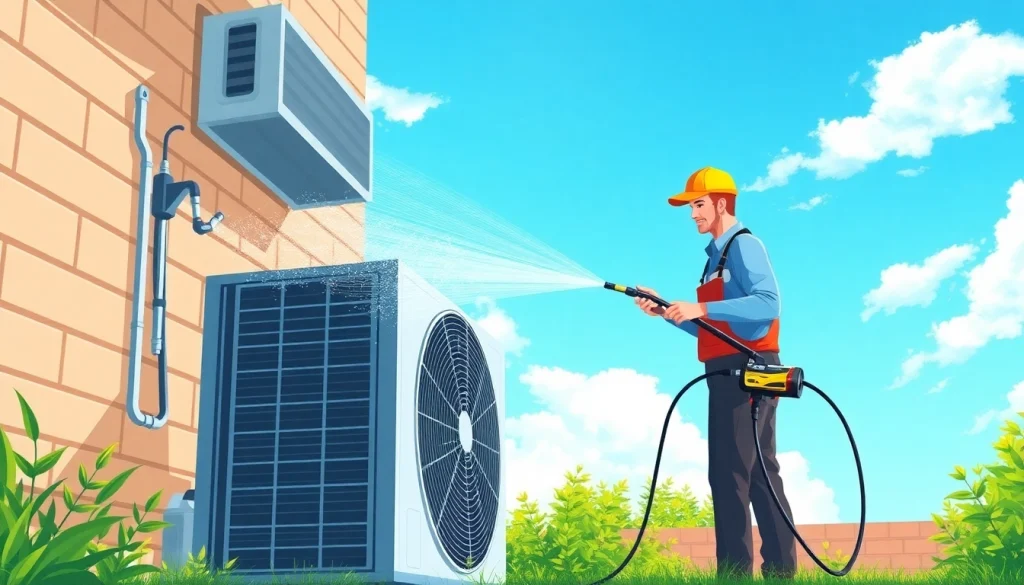
- Using the garden hose, rinse the coils gently from the inside out, ensuring all cleaning solution and debris are washed away. For pressure washers, use a low-pressure setting to avoid damaging the coils.
- If the coils are heavily soiled, consider repeating the cleaning process for a thorough clean.
- Replace any panels or guards removed during the cleaning process.
- Turn the power back on and check for proper operation of the unit.
Post-Cleaning Maintenance Tips
After cleaning, ensure the longevity and efficiency of your air conditioning unit by following these maintenance tips:
- Schedule regular maintenance checks at least annually, preferably twice a year, before the cooling season begins.
- Keep the outdoor area surrounding the unit free of debris and vegetation to ensure good airflow.
- Consider using a preventative maintenance plan offered by HVAC professionals which includes regular cleaning and inspections.
DIY vs. Professional Cleaning: What You Need to Know
When to Call a Professional
While many homeowners can handle basic coil cleaning, certain situations warrant professional assistance:
- If you notice unusual noises from your AC unit post-cleaning, it’s wise to call an HVAC technician.
- When your coils are heavily soiled or infested with mold, a professional’s expertise can ensure a thorough cleaning.
- For complicated systems or for individuals unfamiliar with HVAC systems, professional cleaning is recommended to avoid damaging the unit.
DIY Cleaning Benefits
Opting for a DIY approach to cleaning your condenser coils can provide numerous benefits:
- Cost Savings: Performing the cleaning yourself eliminates service fees associated with hiring HVAC professionals.
- Control Over Maintenance: You have full control over how and when the cleaning is done, allowing for a more personalized maintenance schedule.
- Knowledge Gain: Understanding how your air conditioning system works and how to maintain it empowers you as a homeowner.
Cost Analysis of DIY vs. Professional Services
When weighing the options between DIY cleaning and hiring a professional, consider the cost implications:
- DIY costs include purchasing cleaning supplies and tools, usually amounting to about $30-$150 depending on existing equipment and supplies.
- Professional services can range from $75 to $250, depending on your location and the complexity of the task.
Ultimately, your choice will depend on your budget, skill level, and comfort with home maintenance tasks.
Preventative Measures and Best Practices
Regular Maintenance Schedule
To prolong the life of your air conditioning unit and maintain optimal performance, adhere to a maintenance schedule:
- Clean condenser coils at least once a year or as needed based on environmental factors.
- Schedule professional inspections at the start of each cooling season and just before winter to ensure peak performance.
- In areas with high dust or air pollution, increase the frequency of cleaning to bi-annually.
Signs Your Coils Need Attention
Being vigilant about your air conditioning unit can help you detect when the coils need cleaning:
- Reduced cooling efficiency or inconsistent temperature control within your home.
- Higher than usual energy bills indicating increased power consumption.
- Visible accumulation of dirt or greasy residue on the coils.
- Frequent system cycling, where the unit turns on and off more often than usual.
Improving Overall AC Efficiency
Besides cleaning condenser coils, other practices can improve air conditioning efficiency:
- Change air filters every 1-3 months, as dirty filters impede airflow and unit performance.
- Seal any gaps or leaks in ductwork, ensuring all conditioned air reaches its intended destination without waste.
- Invest in programmable thermostats for more efficient temperature regulation.